Red Velvet Cake
Introduction
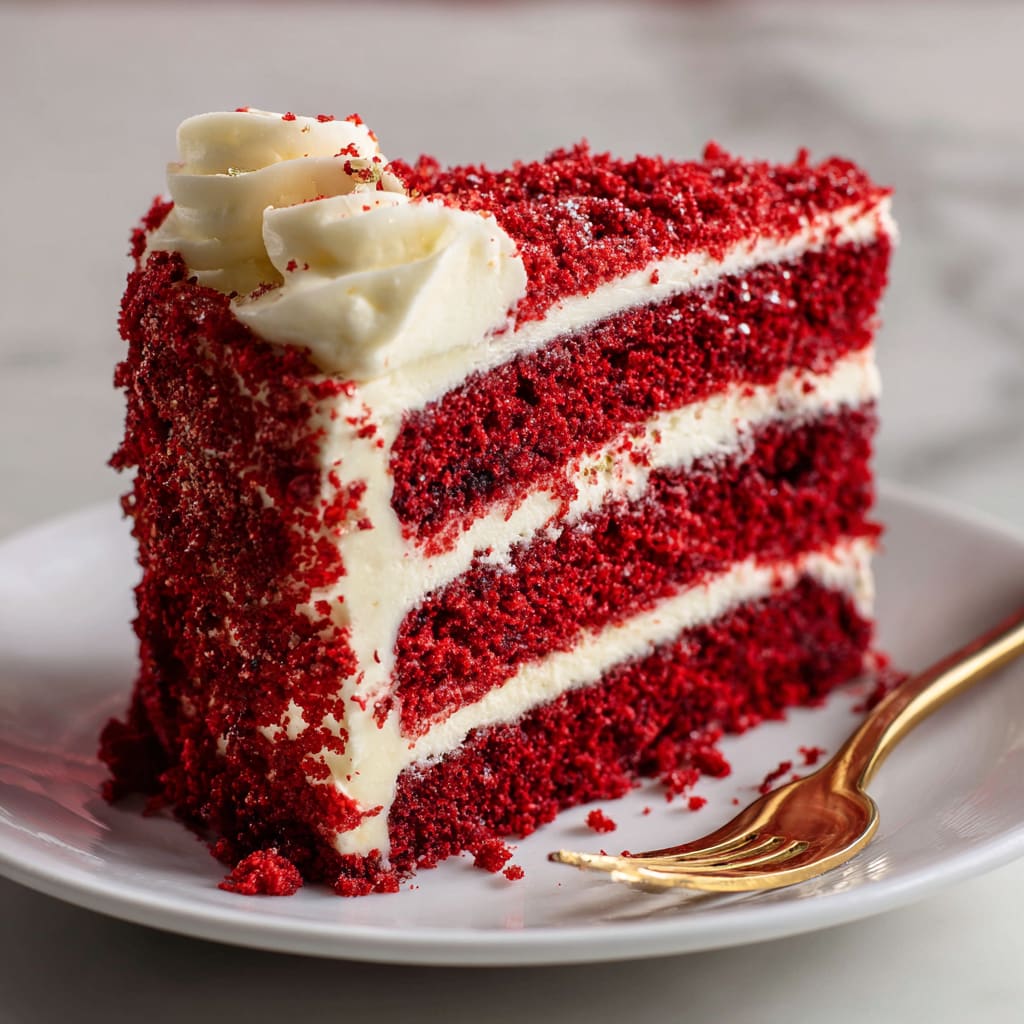
Sink your teeth into the velvety, crimson layers of a classic Red Velvet Cake that promises to delight all your senses. This iconic dessert strikes the perfect balance between subtle cocoa flavors and tangy cream cheese frosting, creating a taste experience that’s truly unforgettable. The rich ruby-red color of this Red Velvet Cake makes it a showstopping centerpiece for any celebration—whether it’s a birthday, holiday gathering, or simply a weekend treat. You’ll learn how to create bakery-quality cake layers with the perfect crumb, mix the signature red batter, and frost your creation to perfection.
Why You’ll Love This Recipe
This Red Velvet Cake recipe delivers consistent results that will have everyone asking for seconds. The contrast between the tender, moist cake crumb and the silky cream cheese frosting creates a textural masterpiece that keeps you coming back for more. Unlike many red velvet recipes that rely heavily on artificial flavors, this version highlights the subtle cocoa notes while allowing the vinegar and buttermilk to create that distinctive tangy undertone.
The vibrant red color makes this cake instantly recognizable and perfect for special occasions, while the straightforward preparation means you don’t need to be a professional baker to achieve impressive results. The slight acidity from the buttermilk tenderizes the cake crumb, ensuring each bite melts in your mouth, while the cream cheese frosting provides the perfect cooling complement to the cake’s subtle warmth.
Best of all, this Red Velvet Cake strikes that elusive balance between being impressively elegant and comfortingly familiar—making it a guaranteed crowd-pleaser for any gathering.
Ingredients
For the Red Velvet Cake layers:
- 2½ cups (315g) all-purpose flour
- 1½ cups (300g) granulated sugar
- 1 teaspoon baking soda
- 1 teaspoon salt
- 2 tablespoons (15g) unsweetened cocoa powder (not Dutch-processed)
- 1 cup (240ml) buttermilk, room temperature
- 2 large eggs, room temperature
- 1 cup (220g) vegetable oil
- 1 teaspoon white vinegar
- 1 teaspoon vanilla extract
- 1-2 tablespoons red food coloring (or 1-2 teaspoons gel coloring)
For the cream cheese frosting:
- 16 oz (450g) cream cheese, softened
- ½ cup (115g) unsalted butter, softened
- 4 cups (480g) powdered sugar, sifted
- 1 teaspoon vanilla extract
- Pinch of salt
The buttermilk is crucial for that signature red velvet tanginess, while the small amount of cocoa powder provides the subtle chocolate notes that define authentic red velvet cake. Quality vanilla extract enhances the overall flavor profile without overpowering the delicate balance of flavors.
Pro Tips
Perfect your cake texture: For the most tender Red Velvet Cake, avoid overmixing the batter once you’ve added the dry ingredients. Overmixing develops gluten, which can make your cake tough rather than velvety. Mix just until no flour streaks remain visible in the batter, and you’ll achieve that melt-in-your-mouth texture red velvet is famous for.
Master the coloring technique: Add the red food coloring gradually rather than all at once. This allows you to control the intensity of the color without risking a bitter aftertaste from too much food coloring. For a more natural approach, you can substitute with 2-3 tablespoons of beetroot powder, though this will produce a slightly different shade.
Ensure frosting success: The secret to silky smooth cream cheese frosting is temperature control. Both your butter and cream cheese should be properly softened (about 65-70°F or 18-21°C), but not melting. If they’re too cold, you’ll get lumps; too warm, and the frosting will be runny. Beat the butter first until light and fluffy, then add the cream cheese and continue beating until completely smooth before gradually adding the powdered sugar.

Instructions
Step 1: Prepare Your Equipment
Preheat your oven to 350°F (175°C). Grease and line two 9-inch round cake pans with parchment paper circles. The parchment ensures your Red Velvet Cake layers will release cleanly without sticking. Dust the sides lightly with flour and tap out any excess.
Step 2: Mix Dry Ingredients
In a medium bowl, whisk together the flour, cocoa powder, baking soda, and salt until well combined. This even distribution ensures no one gets a bitter bite of baking soda in the finished cake. The cocoa powder gives the Red Velvet Cake its subtle chocolate undertone while contributing to the distinctive color.
Step 3: Prepare Wet Ingredients
In a large bowl, beat the sugar and eggs with an electric mixer on medium speed until light and fluffy, about 2 minutes. Gradually add the oil while continuing to beat. The mixture should become thicker and paler in color. Stir in the buttermilk, vinegar, vanilla extract, and food coloring, mixing until the color is uniform throughout. The vibrant red should be intense at this stage, as it will mellow slightly during baking.
Step 4: Combine Mixtures
Add the dry ingredients to the wet ingredients in three batches, gently folding with a rubber spatula after each addition. Mix just until no flour streaks remain visible. Your Red Velvet Cake batter should be smooth, velvety, and brilliantly red.
Step 5: Bake the Cakes
Divide the batter evenly between the prepared cake pans and smooth the tops with a spatula. Tap the pans gently on the counter to release any air bubbles. Bake for 25-30 minutes, or until a toothpick inserted in the center comes out clean with a few moist crumbs. The cake edges should just begin to pull away from the sides of the pan.
Step 6: Cool Completely
Allow the cakes to cool in their pans for 10 minutes before turning them out onto wire racks to cool completely. Place them top-side down on the racks to help flatten any domed tops for easier stacking.
Step 7: Make the Frosting
In a large bowl, beat the softened butter until creamy. Add the softened cream cheese and beat until completely smooth and no lumps remain. Gradually add the sifted powdered sugar, vanilla extract, and salt, beating on low speed until incorporated, then on medium-high until light and fluffy.
Step 8: Assemble and Frost
Once the cake layers are completely cool, place one layer on a cake stand or serving plate. Spread about 1 cup of frosting evenly over the top. Position the second layer on top and cover the entire Red Velvet Cake with the remaining frosting, creating swirls and patterns as desired. For a classic look, reserve some crumbs from trimming the layers and sprinkle them around the edge of the cake.
Variations
Southern-Style Red Velvet: For an even more authentic Southern red velvet cake, replace half the oil with softened butter for added richness, and add 1/2 teaspoon of almond extract to enhance the complexity of flavors. The texture becomes slightly more dense and buttery, reminiscent of traditional recipes passed down through generations.
Cream Cheese-Stuffed Red Velvet: Create a surprise filling by reserving 1 cup of the cream cheese frosting and mixing it with 1/4 cup mini chocolate chips. After baking and cooling your Red Velvet Cake layers, use a small knife to cut a 1-inch deep circle in the center of the bottom layer (without cutting through). Remove the cake circle, fill the cavity with the cream cheese-chocolate chip mixture, and replace the cake “lid” before frosting as normal.
Gluten-Free Red Velvet: Substitute the all-purpose flour with a high-quality gluten-free 1:1 baking flour blend that contains xanthan gum. Add an extra egg to provide additional structure, and increase the vanilla extract to 1 1/2 teaspoons to enhance the flavor. This adaptation ensures everyone can enjoy the classic taste and texture of Red Velvet Cake.
Storage and Serving
Store your Red Velvet Cake covered at room temperature for up to 2 days or refrigerated for up to 5 days. The flavor actually improves after the first day as the subtle cocoa notes and tangy frosting meld together. If refrigerating, allow the cake to come to room temperature for 30-60 minutes before serving to ensure the best texture and flavor experience.
For longer storage, you can freeze unfrosted cake layers wrapped tightly in plastic wrap and aluminum foil for up to 2 months. Thaw overnight in the refrigerator before frosting and serving.
Serve this stunning Red Velvet Cake with a dollop of whipped cream or a scoop of vanilla ice cream for an extra-indulgent dessert experience. For a beautiful presentation, garnish with fresh berries, mint leaves, or white chocolate curls. This cake pairs wonderfully with a glass of cold milk, hot coffee, or even a dessert wine like Moscato for special occasions.
FAQs
Why is my red velvet cake dry?
Overbaking is the most common culprit for a dry Red Velvet Cake. Check your cake 5 minutes before the recipe suggests, as oven temperatures vary. A toothpick should come out with a few moist crumbs, not completely clean. Also, make sure you’re measuring flour correctly—spoon it into measuring cups and level off rather than scooping directly from the bag.
Can I use Dutch-processed cocoa powder instead?
Regular unsweetened cocoa powder is preferred for Red Velvet Cake because it reacts with the vinegar and buttermilk to create the cake’s distinctive flavor and help with the red color. Dutch-processed cocoa is neutralized and won’t provide the same chemical reaction or taste profile.
Why did my cream cheese frosting turn runny?
Runny frosting typically happens when your ingredients are too warm or the cream cheese was overbeaten. Make sure both butter and cream cheese are cool but softened, not room temperature. Beat the cream cheese just until smooth, as overbeating breaks down its structure.
Is there a natural alternative to red food coloring?
Yes! You can use 2-3 tablespoons of beetroot powder or 1/2 cup of beetroot puree (reduce other liquids accordingly) to color your Red Velvet Cake naturally. The color won’t be as vibrant but will provide a natural reddish hue.
Can I make this recipe as cupcakes instead?
Absolutely! This Red Velvet Cake recipe will yield approximately 24 cupcakes. Fill cupcake liners about 2/3 full and reduce the baking time to 18-20 minutes, or until a toothpick inserted comes out with a few moist crumbs.

Red Velvet Cake
- Prep Time: 25 minutes
- Cook Time: 30 minutes
- Total Time: 55 minutes
- Yield: 12 servings 1x
- Category: Dessert
- Method: Baking
- Cuisine: Americaine
Description
Indulge in a rich and decadent Red Velvet Cake with cream cheese frosting. Perfect for special occasions and guaranteed to impress!
Ingredients
- 2½ cups (315g) all-purpose flour
- 1½ cups (300g) granulated sugar
- 1 teaspoon baking soda
- 1 teaspoon salt
- 2 tablespoons (15g) unsweetened cocoa powder (not Dutch-processed)
- 1 cup (240ml) buttermilk, room temperature
- 2 large eggs, room temperature
- 1 cup (220g) vegetable oil
- 1 teaspoon white vinegar
- 1 teaspoon vanilla extract
- 1–2 tablespoons red food coloring (or 1–2 teaspoons gel coloring)
- 16 oz (450g) cream cheese, softened
- ½ cup (115g) unsalted butter, softened
- 4 cups (480g) powdered sugar, sifted
- 1 teaspoon vanilla extract
- Pinch of salt
Instructions
- Step 1: Prepare Your Equipment Preheat your oven to 350°F (175°C). Grease and line two 9-inch round cake pans with parchment paper circles. The parchment ensures your **Red Velvet Cake** layers will release cleanly without sticking. Dust the sides lightly with flour and tap out any excess.
- Step 2: Mix Dry Ingredients In a medium bowl, whisk together the flour, cocoa powder, baking soda, and salt until well combined. This even distribution ensures no one gets a bitter bite of baking soda in the finished cake. The cocoa powder gives the **Red Velvet Cake** its subtle chocolate undertone while contributing to the distinctive color.
- Step 3: Prepare Wet Ingredients In a large bowl, beat the sugar and eggs with an electric mixer on medium speed until light and fluffy, about 2 minutes. Gradually add the oil while continuing to beat. The mixture should become thicker and paler in color. Stir in the buttermilk, vinegar, vanilla extract, and food coloring, mixing until the color is uniform throughout. The vibrant red should be intense at this stage, as it will mellow slightly during baking.
- Step 4: Combine Mixtures Add the dry ingredients to the wet ingredients in three batches, gently folding with a rubber spatula after each addition. Mix just until no flour streaks remain visible. Your **Red Velvet Cake** batter should be smooth, velvety, and brilliantly red.
- Step 5: Bake the Cakes Divide the batter evenly between the prepared cake pans and smooth the tops with a spatula. Tap the pans gently on the counter to release any air bubbles. Bake for 25-30 minutes, or until a toothpick inserted in the center comes out clean with a few moist crumbs. The cake edges should just begin to pull away from the sides of the pan.
- Step 6: Cool Completely Allow the cakes to cool in their pans for 10 minutes before turning them out onto wire racks to cool completely. Place them top-side down on the racks to help flatten any domed tops for easier stacking.
- Step 7: Make the Frosting In a large bowl, beat the softened butter until creamy. Add the softened cream cheese and beat until completely smooth and no lumps remain. Gradually add the sifted powdered sugar, vanilla extract, and salt, beating on low speed until incorporated, then on medium-high until light and fluffy.
- Step 8: Assemble and Frost Once the cake layers are completely cool, place one layer on a cake stand or serving plate. Spread about 1 cup of frosting evenly over the top. Position the second layer on top and cover the entire **Red Velvet Cake** with the remaining frosting, creating swirls and patterns as desired. For a classic look, reserve some crumbs from trimming the layers and sprinkle them around the edge of the cake.
Notes
Fresh ingredients will always yield the best flavor results.
Nutrition
- Serving Size: One slice
- Calories: 380 calories per serving
- Sugar: 38g
- Sodium: 350mg
- Fat: 22g
- Saturated Fat: 10g
- Unsaturated Fat: 9g
- Trans Fat: 0g
- Carbohydrates: 45g
- Fiber: 1g
- Protein: 4g
- Cholesterol: 70mg